Tuesday 15 December 2015

Masala beef steaks (cheap cut)

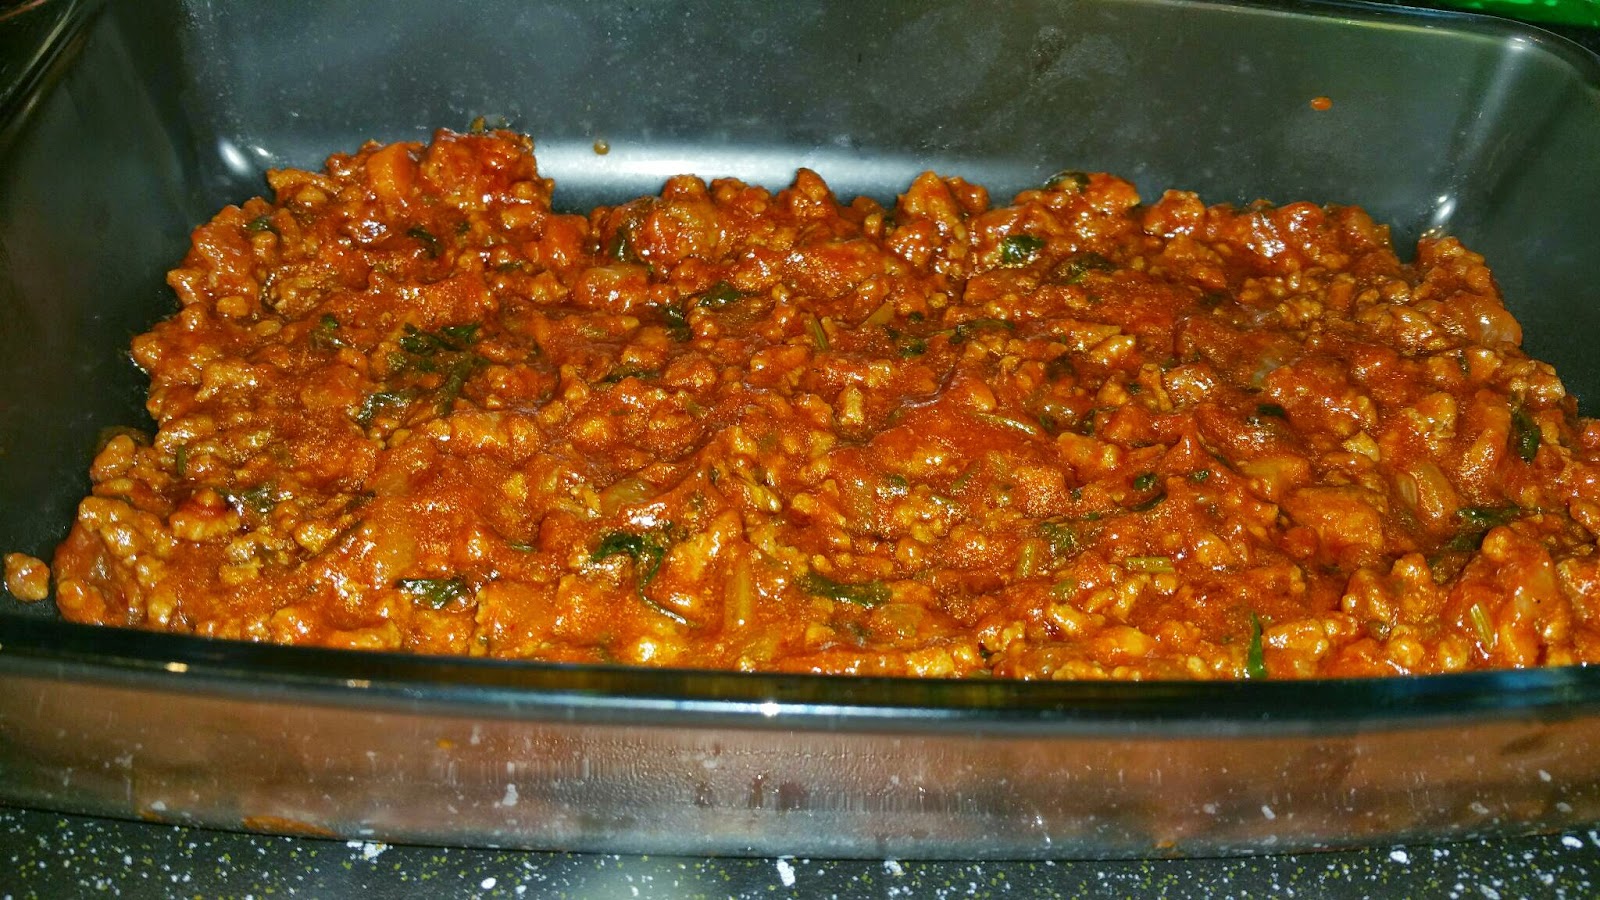
I try to cook something different on hubby's day off, despite him being a true Bangladeshi and preferring his rice and curry. This week i did his favourite meat which is beef, but used a cheap cut steak and marinated them for 48 hours in a thick yoghurt and spice marinade before baking them in a hot oven.

Ingredients:

800g Beef topside cut into thin steaks
250g Greek yoghurt
2 tbsp white vinegar
2 tbsp. Ginger and garlic paste
1 tbsp. Crushed Kasuri methi
1.5 tbsp. Salt
1 tbsp. Tandoori masala
1 tsp. Mint sauce
1/4 tsp. Turmeric powder
3/4 tsp. Garam Masala powder
1 tsp. Coriander powder
1 tsp. Cumin powder
1 tsp. Extra hot chilli powder
2 tsp. Hot Madras curry powder
2 tsp. Kashmiri red chilli powder
3 tbsp. Sunflower oil

1 tbsp. Melted butter for basting

In a large bowl, mix together all the above ingredients, apart from the beef and the butter.

After washing your beef steaks, place them in the marinade and massage the marinade into the beef well. Cover the bowl with a cling film and put into the fridge for a minimum of 6 hours. I left the beef for 48 hours as the longer a meat has for marination, the better it is flavoured.

Pre heat your oven to 200°C. Bring the beef out and leave for 30 minutes for the meat to come to room temperature. Line a baking tray with a rack with foil and brush on some butter. Place your beef out on the rack and once oven has pre heated pop in for 15 minutes.

During the 15 minutes, take the meat out once and brush with melted butter. After 15 minutes, take out the meat and turn it over. Again during that cookung process, take the meat out and baste with butter again. Do this until beef is cooked to your liking. We prefer well done, so beef was in the oven for about 45 minutes.

Serve as you wish. We were having a vegetable couscous, so i cut the beef into strips and served it on the couscous.

N.B. If i were to cook this again, i would get a large piece of the beef and cut it into thin steaks myself as the butcher did it too thick for me. The thinner the steaks are, the less cooking time they would need.

I hope you guys enjoy!

Yaz 💖

Wednesday 9 September 2015

Egg and cheese pie (Cheese Flan!)

I just noticed i haven't posted anything on the blog in over a year!

To be honest, we have had two family weddings, my son has been attending nursery, and in the general humdrum of life, i have forgotten to update the blog! (Although my Instagram has been heavily updated everyday, and if anyone has had recipe requests i have been contacted directly on there!)

I thought i will get back into the groove with a school time fave. Lately i have been craving the school time dishes such as spicy bean burgers, veggie burgers, cheese pasties and so forth.
Today, i thought i would cook my personal fave, an egg and cheese pie but which we knew as cheese flan. An eggy and cheesy concoction over shortcrust pastry. Oh, i think it was by far the most wonderful dish i have ever had. And you rarely hear that of school food!!

I made a basic shortcrust pastry using

220g plain flour
Pinch of salt
110g cubed, cold butter
3 tbsp. Cold water

Sift the flour and salt into a bowl then add the cubed butter and rub together until it resembles fine breadcrumbs or no big lumps of butter remain.  Then add the water and mix together until just combined with a palette knife and mash together with your hands quickly to make a firm dough. Cover in cling film then chill in fridge for 30 minutes.

I put my fan oven onto 140°C (Normal oven 160°C) or gas mark 3, to preheat whilst the pastry was chilling.

Once the 30 minutes were up, i took the pastry out and kneaded lightly and rolled out quickly to a size that fit my flan tin (bottom and sides and a little over).

Lightly press the sides and bottom into flan tin and prick all over gently with a fork. Cut out some greaseproof paper and put over the pastry and add baking beads or rice and blind bake in the oven for 10 minutes.

N.B. You won't be able to cook this rice again so keep in a container for future blind baking!

Whilst the pastry is blind baking, make the filling.

I used:

1 small onion, finely chopped
Knob of butter
100ml milk
100ml double cream
3 medium sized eggs
1 tsp. Mustard sauce
Sea salt and pepper to taste
250g grated mature cheese

I fried the onions in the butter for 5 minutes until just soft. Then i mixed all the ingredients apart from the onions and cheese in a jug and whisked well.

Take the pastry out after 10 minutes and remove the greaseproof paper. Spread the onions on the bottom of the pastry, then add the grated cheese all over. Add the milk, cream and egg mixture until it just reaches the top. Then bake in the oven in the middle shelf for approximately 35 minutes, or until the egg sets. Serve with a smiple salad!

You can add other veggies such as mushrooms, tomatoes or broccoli to it, but i liked eating this just as it is.

I hope you guys like this recipe, and please follow me on Instagram, or Youtube!

Instagram: @the_travelling_undhal
Youtube channel: The Travelling Undhal

Yaz 💖

Friday 6 February 2015

Yellow kisuri/khichdi/kedgeree

Whenever we were ill at home, my mum's recommendation would always be kisuri - a thick rice and lentil soup style dish with minimal ingredients which would be easy on our stomachs. This is the dish which is made in the majority of  Bengali households during the month of Ramadan purely because it has no spice so it would be easy to digest after an entire day of no food.

Many people make this in different ways - this is just one style. Other styles include plain white rice with ginger and methi (fenugreek seeds), white rice with vegetables added, others can include meat or chicken - these are called bhuna kisuris.

Kisuri is the Bengali way of pronouncing the Indian khichdi which was founded from the English dish of Kedgeree - usually made with rice, lentils and a fish of some sort garnished with eggs. But the fundamental part remains in that it is a looser version of rice (I don't know how else to describe it really!)

A few people had requested this recipe last year, but unfortunately i did not get around to uploading, but as i was intending to make this a few days ago, i thought i would upload the recipe!

I used:

120g basmati rice
40g red lentils (masoor daal)
1/2 an onion, sliced
1 large cinnamon stick (dalchini)
2 bay leaves (tez patta)
1/2 tsp. Turmeric powder
Salt to taste

Bagar/tadka/dagni/temper:

2 tbsp. Oil
1/2 onion
1 large tbsp. Ghee/Butter (optional but recommended)

Wash your rice and lentils until the water runs clear, then put into a large saucepan with 4 times the amount of water as rice and lentils.

Put on a medium heat and add your onions, cinnamon stick, bay leaves and turmeric. Do not stir, just leave to boil. Do watch the saucepan though as it can boil over.

Once it reaches a boil, lower the heat and allow to simmer for about 30 - 40 minutes. Keep topping up the water with boiling water, and allow to boil. When it reaches a consistency you like, add salt to taste and once the rice and lentils have broken down and mushed together, take off the heat. Keep storring at this point (I do it to mash the rice and lentils further).

N.B. i always let my consistency remain slightly looser/thinner than i prefer because the kisuri thickens on standing.

In a small pan, take your oil and once hot, add the other sliced onions. Allow to brown a lot, then add your ghee. As soon as it has melted, add the entire mix to the kisuri and stir well. This is called the bagar/dagni/tadka/tempering.

Serve on it's own or with a chickpea bazi/stir fry.

I remember when my mum gave it to us when we were younger, she used to just add a bit of butter to it and the fragrance that used to come off... Yum!

Hope you enjoy!

Yaz ♡

Tuesday 3 February 2015

Nasi Goreng - Malaysian fried rice

So i'm trying to venture into different cuisines and thought why not try an easy Malaysian egg fried rice. I had almost all of the ingredients at home bar one - shrimp paste. I thought i would buy it as it is used in a majority of East Asian cuisines.

If you are a hardcore Bengali, you will know what Shidol Shutki smells like. It is a dry, salted fish (puti maas) that stinks to high heaven, but i love it. Basically the shrimp paste smells like that - times a million. I thought i smelt everything, but i was in for a surprise. I do have to warn you, if you get queasy quite easily, please do avoid. It is not for the faint hearted!

So to make the Nasi Goreng, you need:

2 tbsp. Oil
3 cloves minced garlic
1 medium onion, finely chopped
1/2 a chicken breast, finely sliced
1 egg
A handful of frozen green peas
1 tsp. Shrimp paste
1 tsp. Chilli flakes (to taste)
Pinch of sugar
2 cups cooked basmati rice
1 tsp. Premium dark soy sauce
1 tbsp. Light soy sauce
Salt to taste
Coriander to garnish
1 fried egg
Pinch salt
Pinch pepper
Pinch of chili flakes

N.B I only had peas at home, but you can add any veggies you want like carrots, spring onions, baby corn etc.

In a wok, take your oil and add your garlic and saute for 30 seconds. Then add your chopped onions and saute for a couple of minutes until they go slightly golden.

Then add your sliced chicken and toss until the pieces go white then crack in your egg. Stir well until cooked, put your peas in and stir until everything is well incorporated.

Add to this the shrimp paste (you can add more or less depending on your preference), and mix well using the back of your spoon to squash down. To this add your chilli flakes (you can add chilli sauce or fresh chillies if you don't have chilli flakes), and a pinch of sugar and stir again.

Put in your basmati rice and cook on a high heat making sure everything is mixed well. Add your dark soy sauce and light soy sauce and mix again. Taste for salt and adjust if required. Stir well and cook again for 2-3 minutes, then take off the heat.

Garnish with coriander and serve on it's own with a fried egg, a pinch of salt, pepper and chilli flakes.

It is unusual with the taste of fish and chicken, but actually it is very very tasty. I will definitely be making this again!

Hope you enjoy!

Yaz ♡

Tuesday 27 January 2015

Lamb Moussaka

2 tbsp. olive oil
2 cloves garlic, minced
1 medium onion, finely chopped
Sea salt to taste
Pinch of black pepper
400g lamb mince, washed and drained
1 tsp. Cumin powder
1 tsp. Coriander powder
1 tsp. Kashmiri red chilli powder (optional)
1 chicken stock cube
400g passata
Chopped coriander (optional, you can use any herb to your preference)

Aubergine slices:

2 aubergines, cut into 0.5cm slices lengthways
Sunflower oil for frying

White sauce:

I cheated by getting a packet mix (Couldn't find any 'V' friendly ready made ones)
300ml milk

To finish:

A handful of mixed cheese
A handful of medium mature cheddar

In a non stick wok, put in your oil and fry your minced garlic for a few seconds, then add your chopped onions and fry until golden and soft. Add sea salt and black pepper and stir well.

Add your washed lamb mince, and brown on a high heat. Once browned, add in your cumin, coriander and optional chilli powder. Stir well, then add your chicken stock cube, and about 300ml of water. Lower the heat and allow to cook down.

Add your passata after water has reduced and stir well again. I added some leftover chopped coriander i had, but you can add any fresh or dried herb of your choice. Stir well, and allow to cook down on a low heat for about 15-20 minutes.

In a seperate frying pan, put in your oil and fry your aubergine slices in a single layer. Check when it is going golden brown, then turn over. Once both sides are well cooked, drain oil on a kitchen towel. Do this for all your slices and put to one side.

In a small saucepan, put 300ml milk and add the cheese sauce mix to it. Put it on boil for about 2-3 minutes, stirring regularly until sauce thickens. Put to one side. By this time your mince should also be cooked. Turn off heat and get ready to assemble.

In a small roasting dish, put a layer of mince, then a layer of aubergines. Then put a layer of white sauce and sprinkle a little cheese on top. Then repeat again with mince, aubergines, white sauce and cheese. Cheese should be your topmost layer.

Heat your oven to 200°C, and put in the moussaka for 20 minutes, until golden and crispy on top. Allow to cool, then serve with potatoes and a salad.

Hope you enjoy!

Yaz ♡